Invite Suppliers#
To enlarge any images in this document, right click on the image and open in a new tab.
You can add a supplier to the platform in several ways,
- Inviting a Supplier
- Importing Suppliers directly from your Accounts Payable system, via a batch file in .csv format
- Adding an Existing Supplier on the platform
Invite Supplier#
First Purchaser has to log in to the platform. Click on Contacts and click on Suppliers (Fig 1), click on Add Supplier (Fig 2), then you will be navigated to Fig 3. Fill the details in Fig 3 and click on Save.
- Name = Business name of the supplier
- Registration Scheme = ASIC (Australia), ACRA (Singapore), DRCSL(Sri Lanka). The Platform can be customised to accept other corporate regulatory authority schemes for different jurisdictions.
- Identification Type = ACN, ABN, UEN, CRN, The Platform can be customised to accept other corporate/entity unique identification for different jurisdictions.
- Identification Number = Number of the registered scheme

Fig 1 - Contacts

Fig 2 - Add Supplier

Fig 3 - Add New Supplier
After entering the supplier details and saving them, the supplier has now been added to the platform. You can verify this by clicking on the Imported Supplier tab, which will show the following details.

Fig 4 - Imported Suppliers
Then click on the supplier record (Fig 4) and click on Invite (Fig 5), then the Invite Party window will be opened (Fig 6).

Fig 5 - Invite Supplier
Enter the email address of the receiver and click on Send Invitation, then the link to the registration email will be sent to the supplier’s email address.

Fig 6 - Send Invitation
Import Supplier#
To add a supplier via Import option, click on Import Supplier, click on File (Fig 1), then the File Upload window will be opened (Fig 2).

Fig 1 - Import Suppliers
Select the file which you need to upload and click on Upload, then supplier details will be imported to the platform, imported supplier details will be displayed (Fig 4).

Fig 2 - Upload File Window
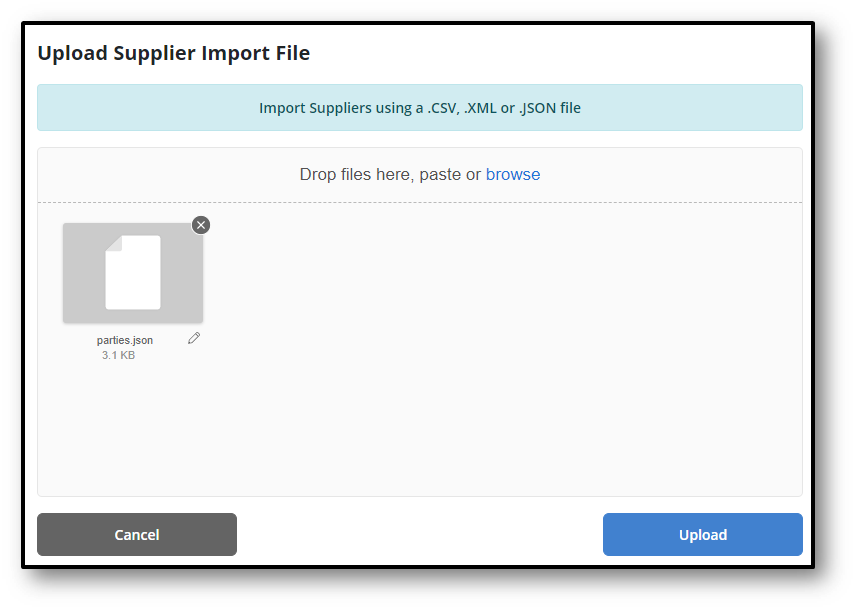
Fig 3 - File Selected

Fig 4 - Import Suppliers Result
In order to invite an imported supplier, click on contacts and click on suppliers (Fig 5), then you will be navigated to Fig 6.

Fig 5 - Contacts
Click on Imported, then you will be navigated to Fig 7.

Fig 6 - Suppliers
Click on the supplier record, then you will be navigated inside the supplier.

Fig 7 - Imported Suppliers
Click on Invite (Fig 8), then you will be able to see Fig 9.

Fig 8 - Invite
Enter the email address of the supplier and click on Send Invitation, email will be sent to the supplier’s email address.

Fig 9 - Send Invitation
Add an Existing Supplier#
Click on the contact and click on suppliers (Fig 1), then you will be navigated to Fig 2.

Fig 1 - Contacts

Fig 2 - Suppliers
Click on Add Supplier (Fig 3), then you will be navigated to Fig 4.

Fig 3 - Add Supplier
Click on Party field (Fig 4), then all the successfully onboarded suppliers will be listed (Fig 5). Select the supplier whom you wish to add, you will be navigated to Fig 6. Click on save, then the selected supplier will be added to your contacts.

Fig 4 - Add New Supplier
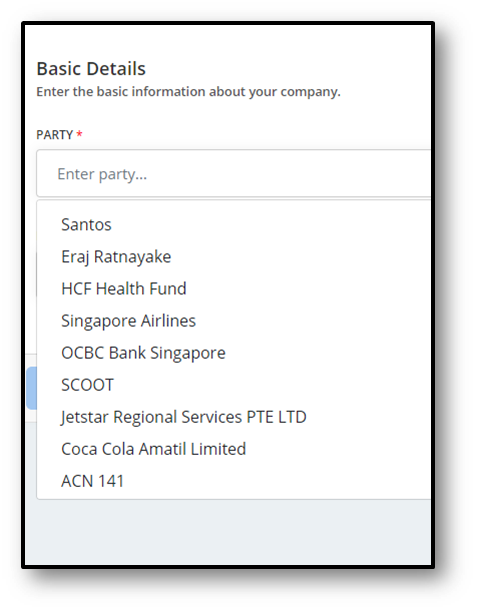
Fig 5 - Existing Suppliers

Fig 6 - Save Supplier
Click on Onboarded, then you will be able to see the selected supplier listed under Onboarded Suppliers (Fig 7).
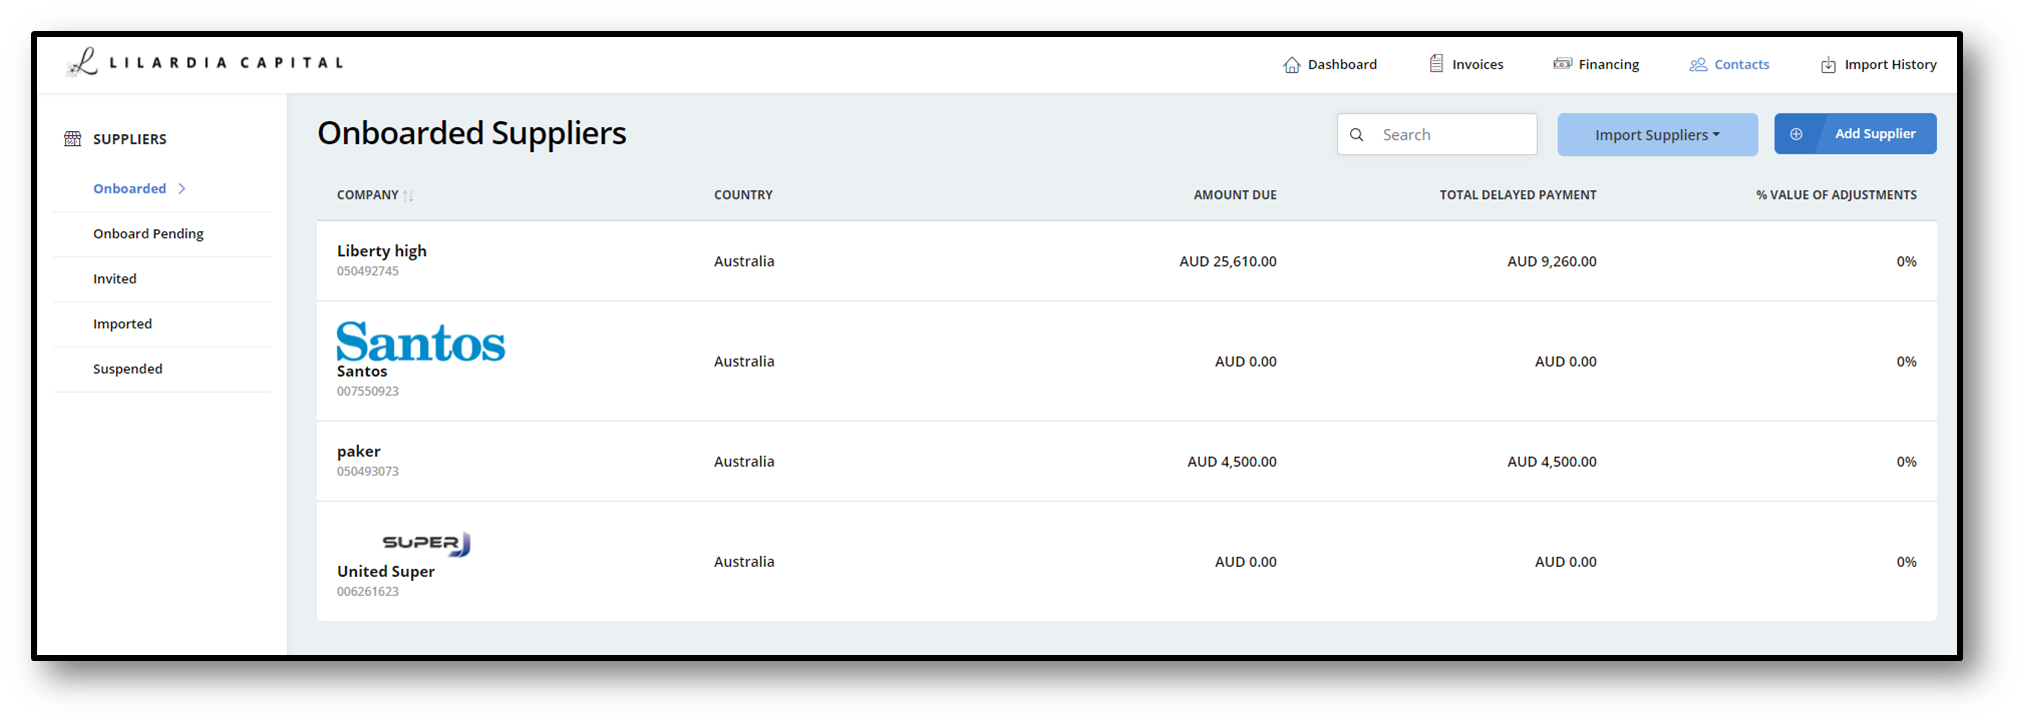
Fig 7 - Onboarded Suppliers
Set Supplier Code#
Before a supplier can import invoices into the platform, supplier code needs to be populated and enable financing.
Click on contacts and select suppliers (Fig 1), then you will be navigated to Fig 2. Select the supplier whom you wish to add invoices in to the platform, then you will be navigated to Fig 3.
- Supplier Code : Unique identifier for the supplier
- Financing Enabled: Supplier's ability to request finacing for the invoices
- Discounting Limit: Maximum % of invoice value that the financier would finance

Fig 1 - Contacts

Fig 2 - Suppliers
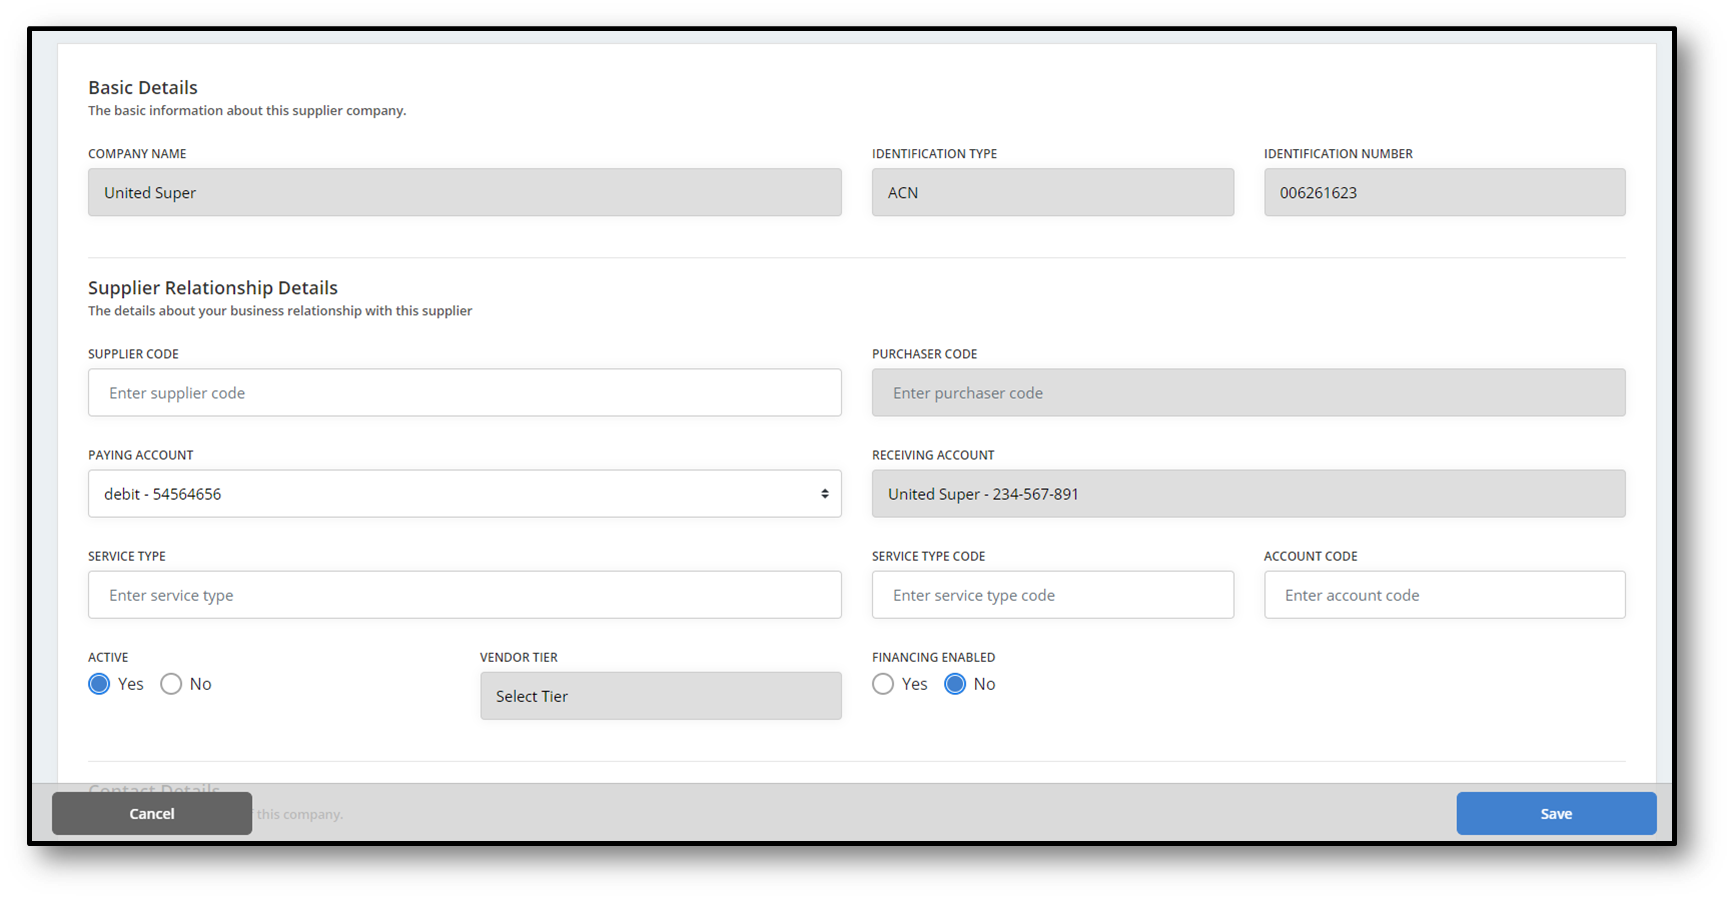
Fig 3 - Supplier info
Set the Supplier Code (Fig 4) and select Financing Enabled as Yes (Fig 5).

Fig 4 - Supplier Code
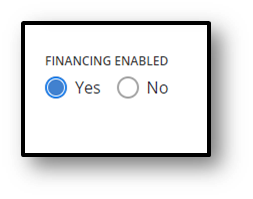
Fig 5 - Finance Enabled
Once the required fields are populated, click on Save to save information.